Wiper motor after reconstruction.
Wiper motor after reconstruction.
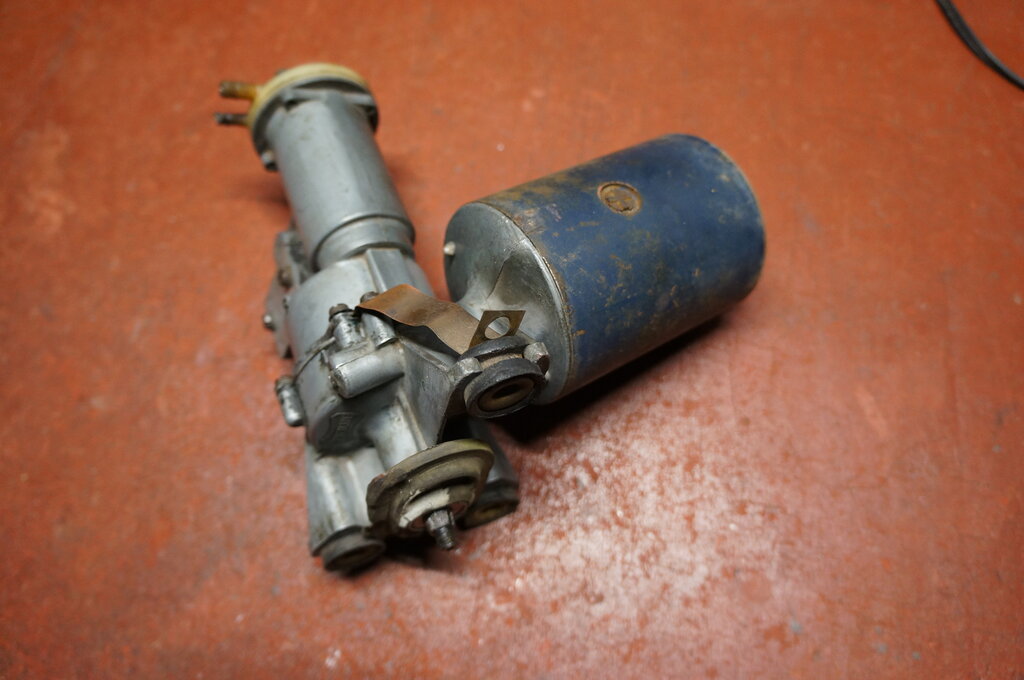
This restoration project came to me as
a collection of parts, with the idea of making one good unit. The car is
a 1965 EJ Holden, and the problem was that some time in the past the wiper
motor had failed. It had been partially disassembled with the intention
of repairing it but this did not eventuate. Another motor was installed
in its place. However, the original motor is a two speed type with built
in washer pump. The replacement was single speed with no washer pump. Hence,
the desirability of repairing the original.
Fortunately, the owner had the wiring
diagram, and also the service manual which covered the wiper motor.
Operation.
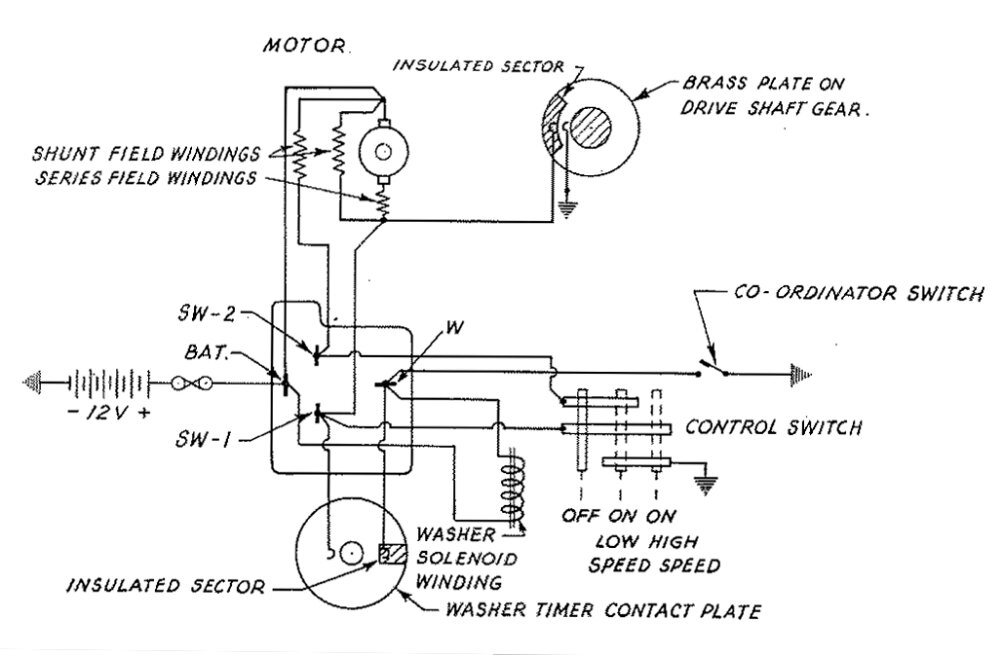
Circuit of motor and associated switch.
The basic configuration is a 'compound'
motor with a series and shunt field winding for best torque and speed regulation.
With the series and shunt coils both powered up, the motor runs at full
speed. When the second field coil is energised, the field magnetism increases
relative to the armature, and the motor slows down.
All coils are permanently fed with 12V,
and the switching is done on the earthy side.
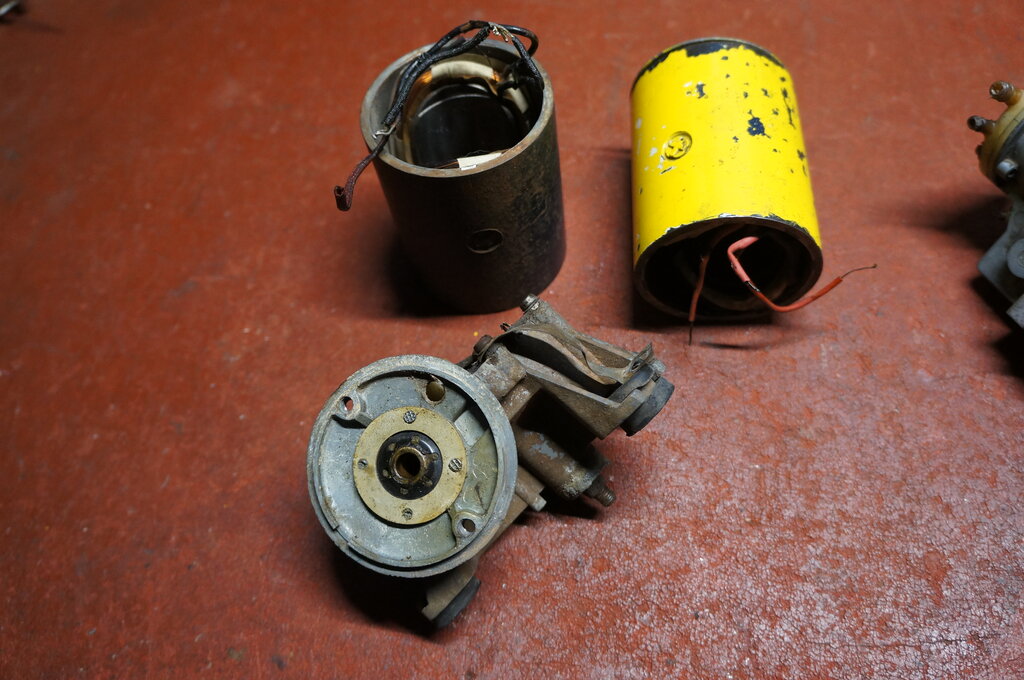
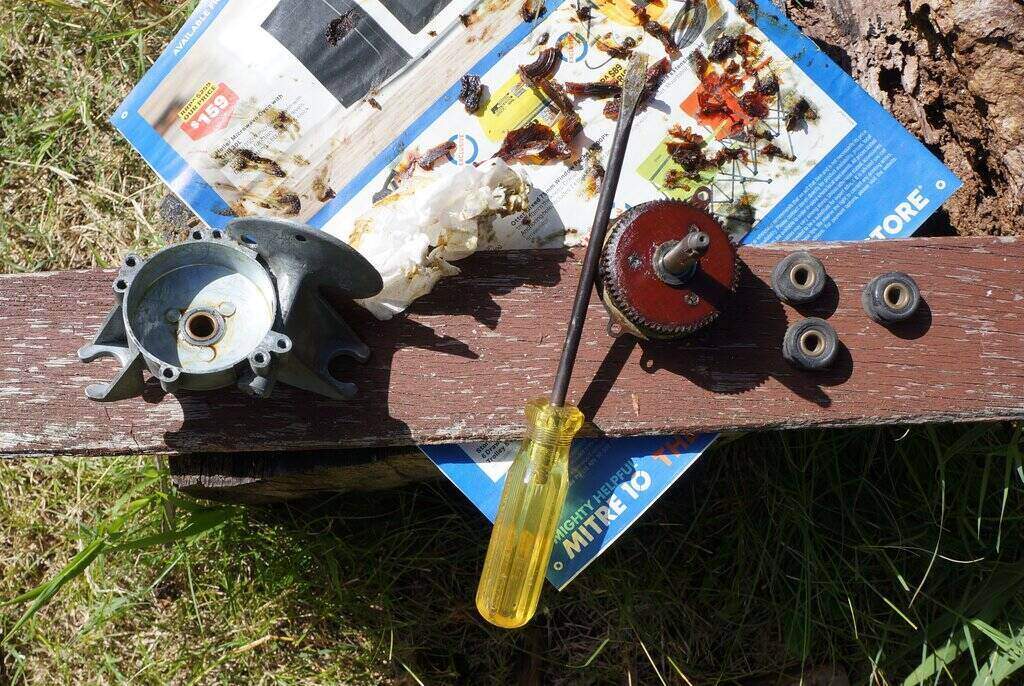
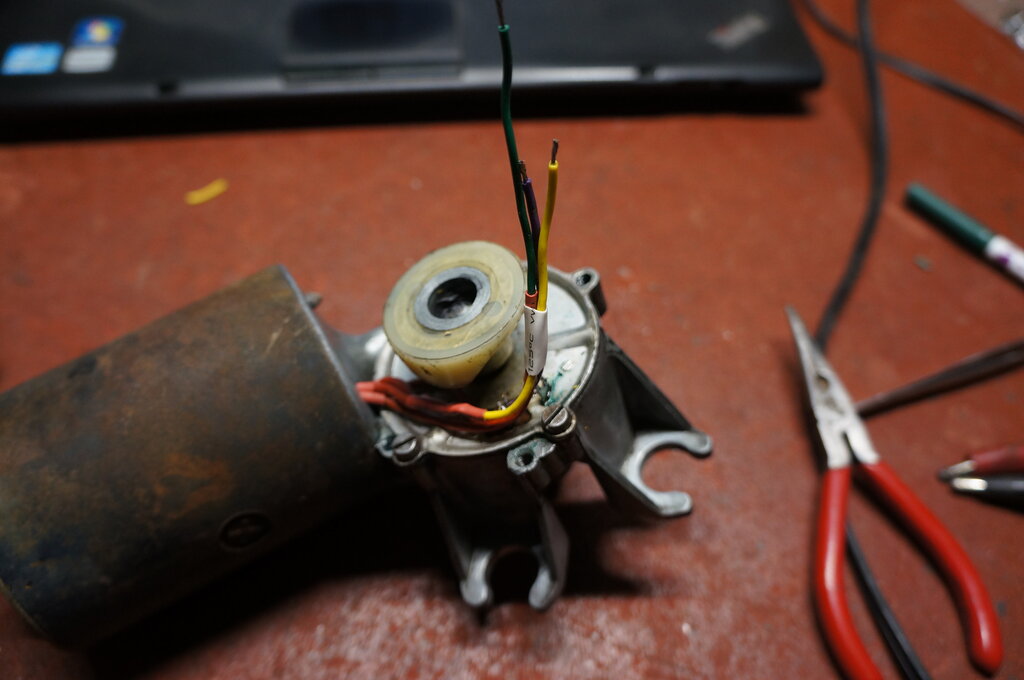
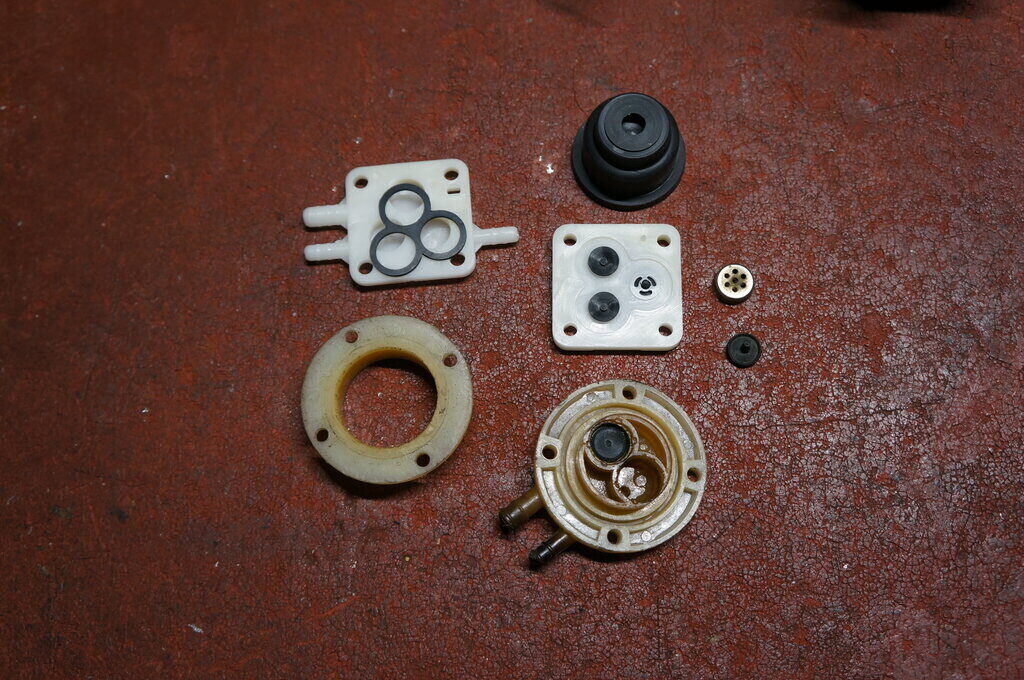
Parts supplied to make a good unit from. Original field coils at
left were damaged.
The original field coil windings were broken
in two places, and one winding was possibly burned. My first intention
was to use the field coils in the yellow casing, since they were in excellent
condition.
First thing with any car parts is to give
them a good clean, since grease and dirt is not good for anything electrical,
and I didn't want it all over my hands and work bench.
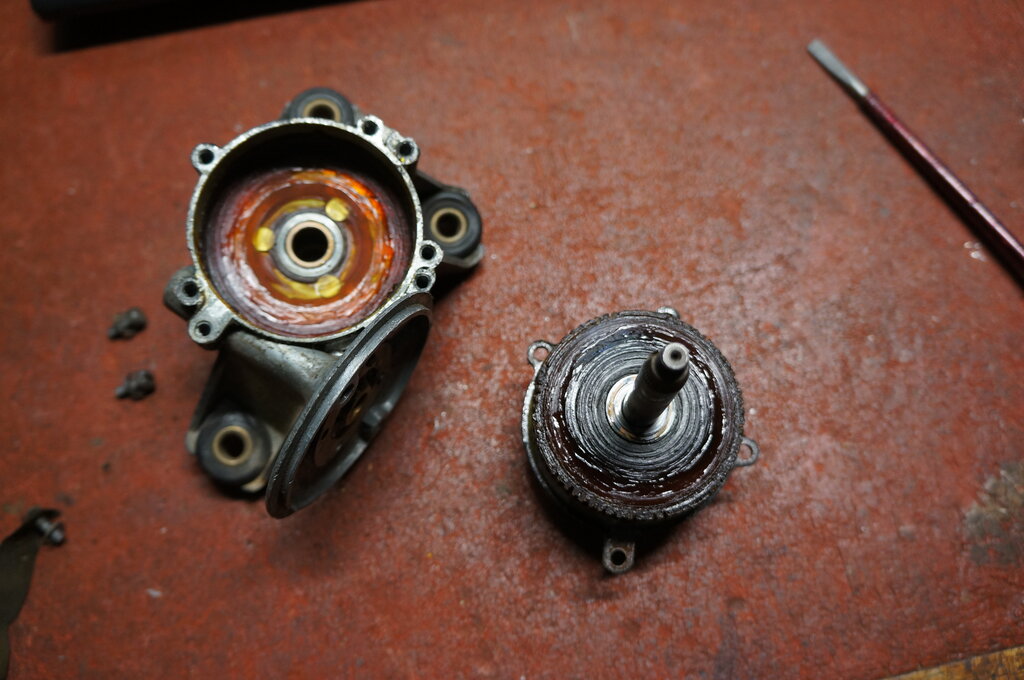
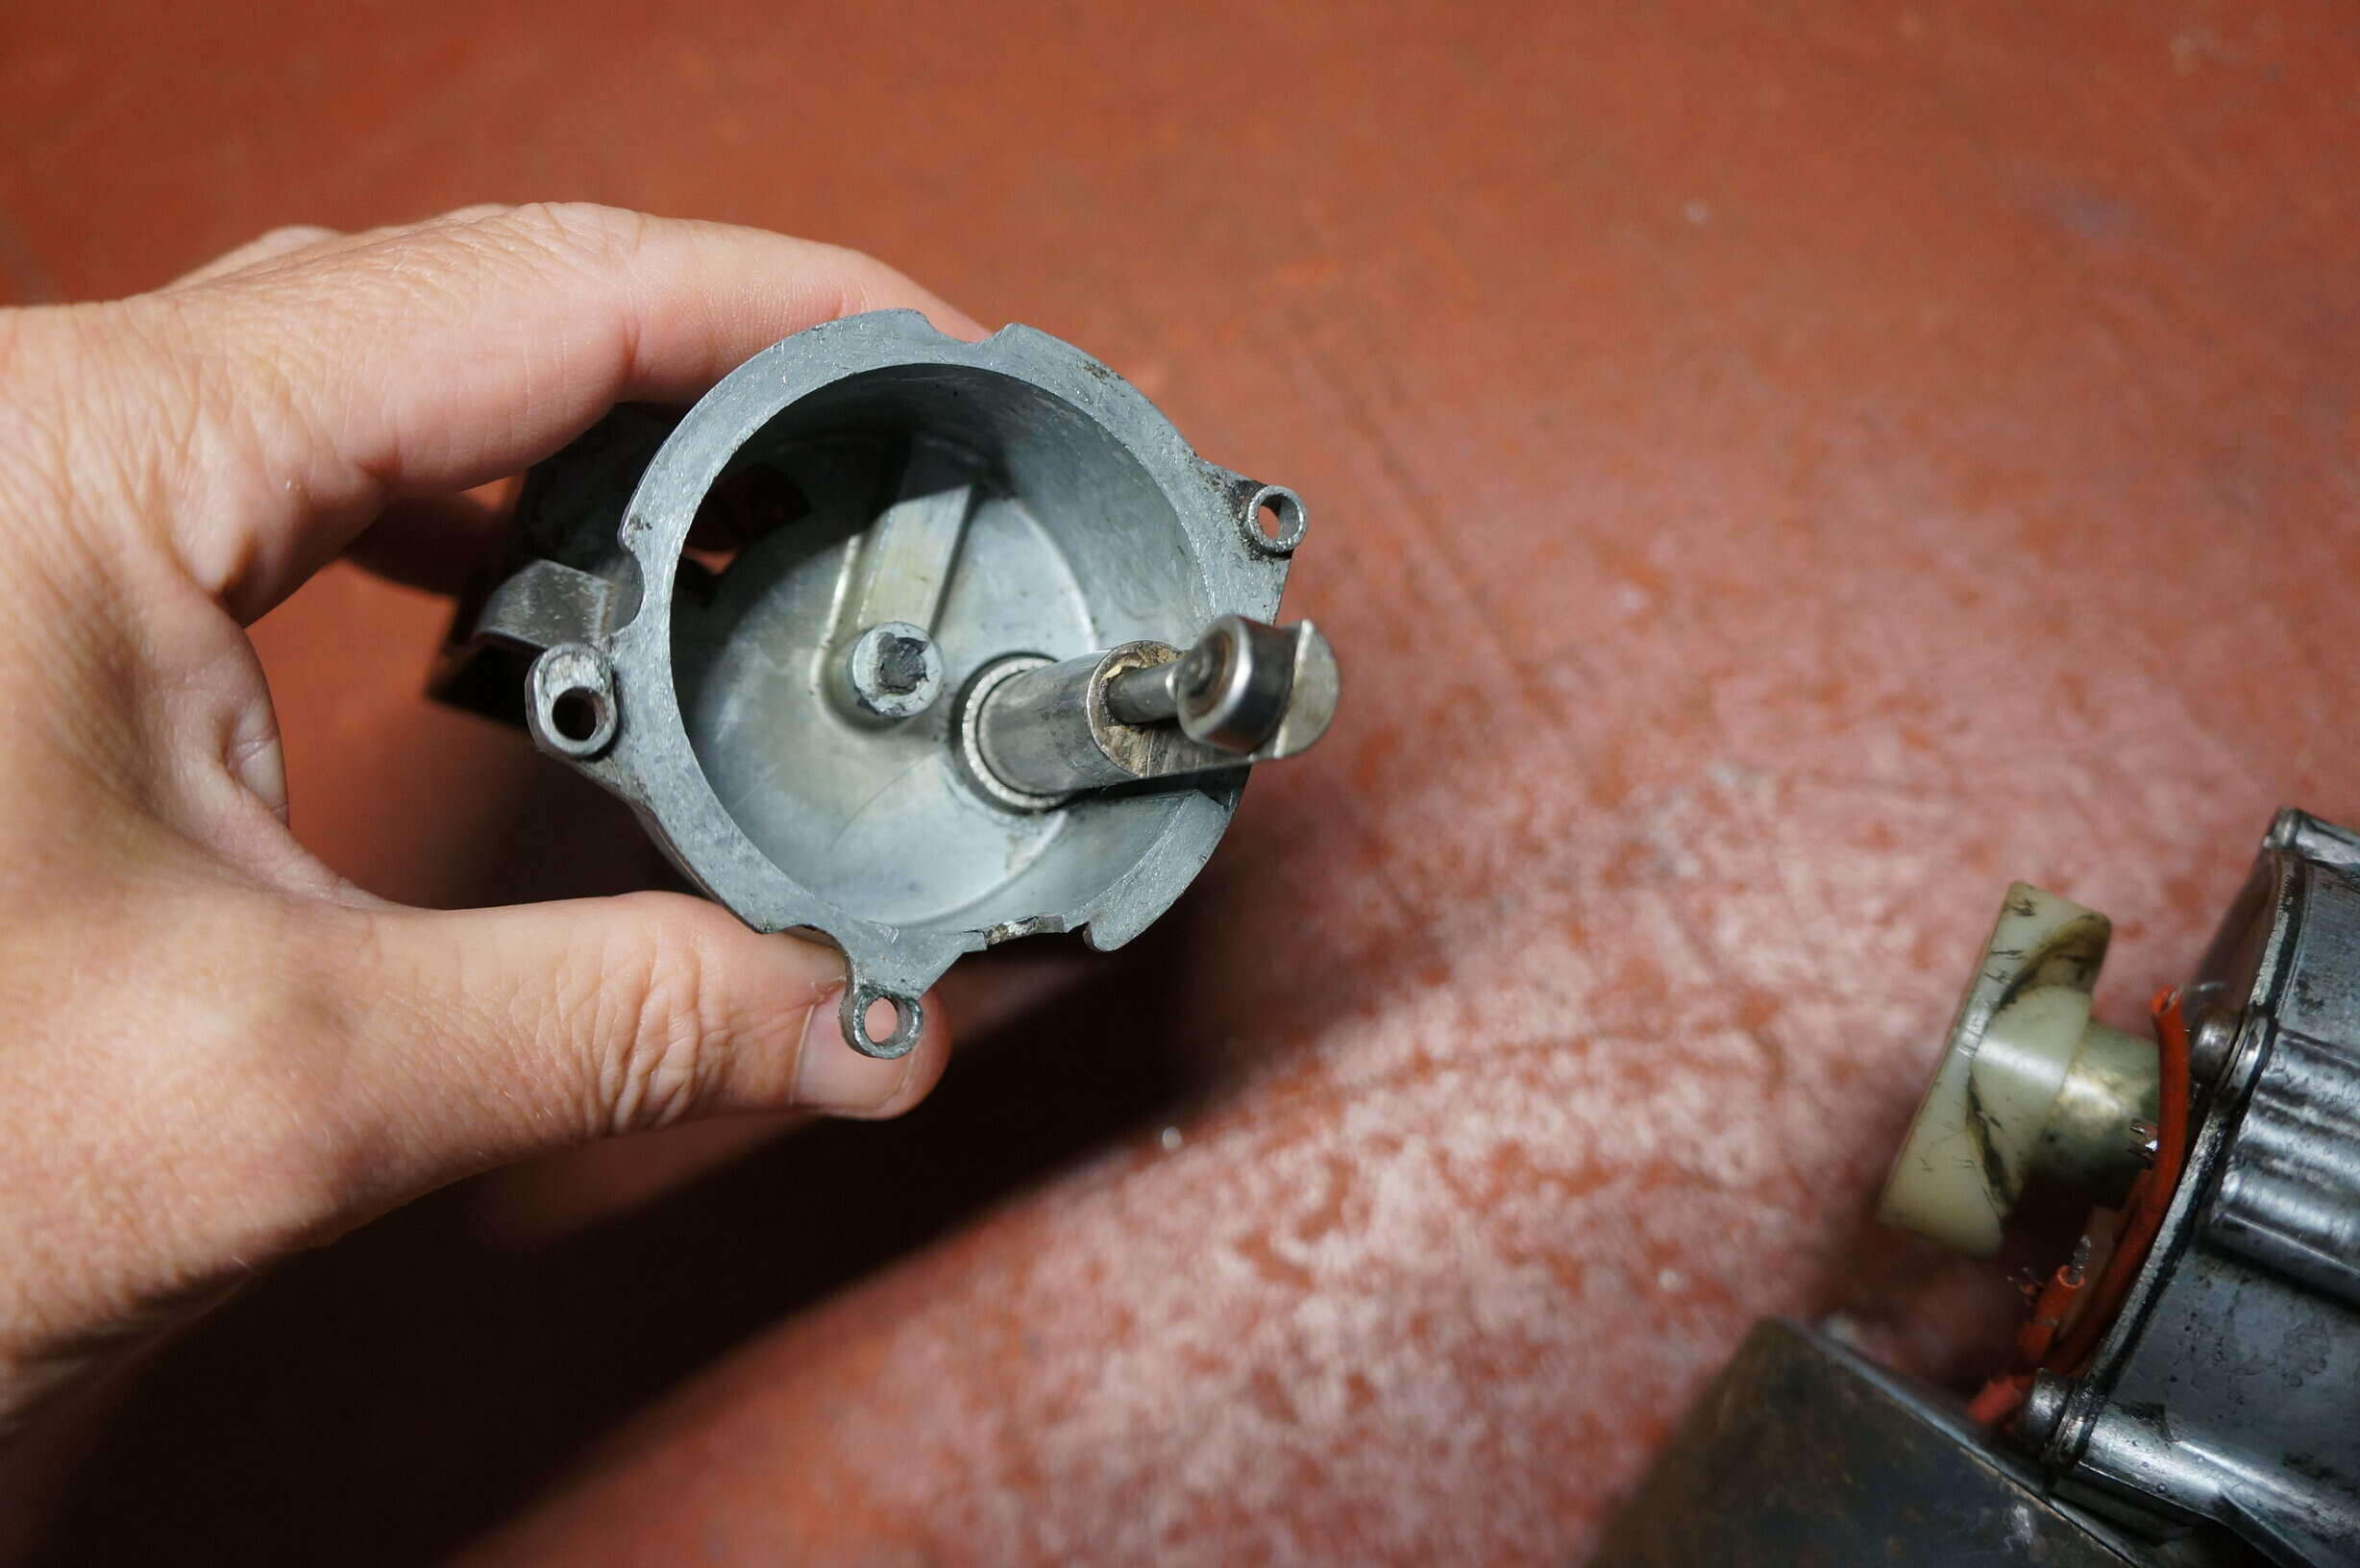
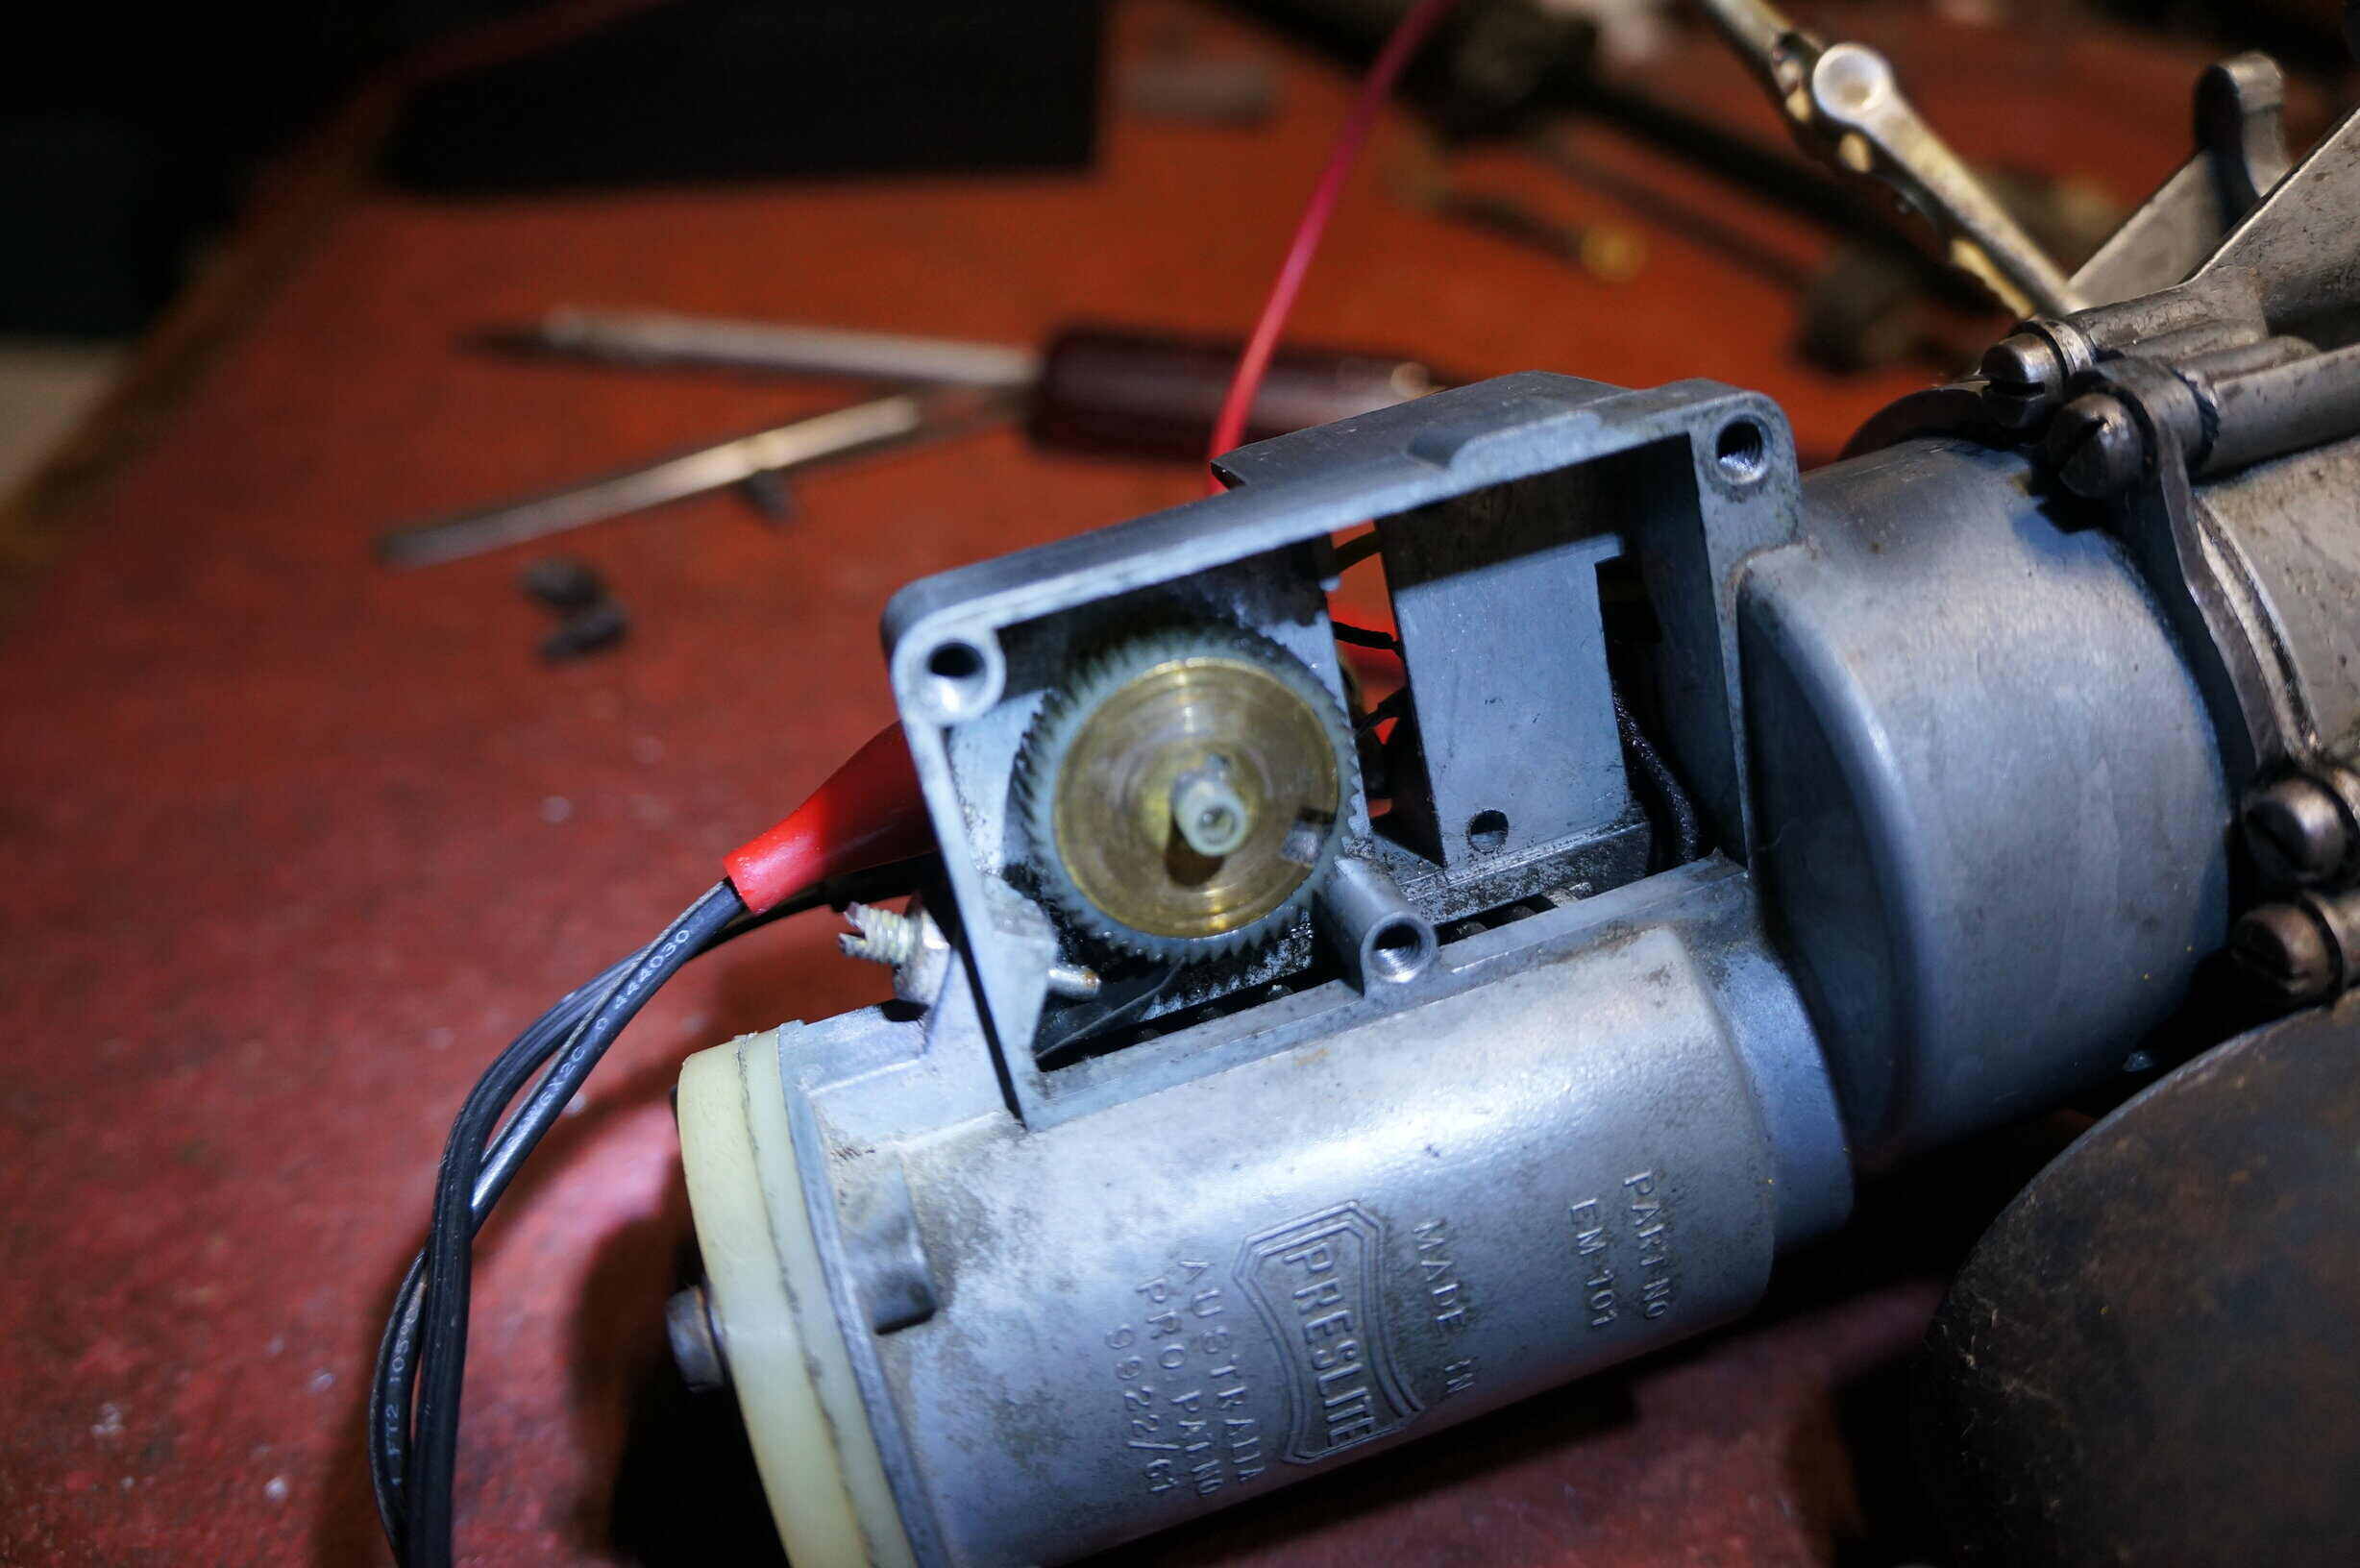
Inside the gearbox. Not surprisingly, the grease had hardened.
The gearbox was opened and as expected all the grease had hardened and dried. The lubricating qualities are largely lost since the grease no longer flows.
Cleaning out the dried grease.
I used marine grade bearing grease to replace it with. The driven gear is made of fibre. On the back of the gear are contacts for the parking switch, so that when the wipers are switched off, the wipers always return to their normal position.
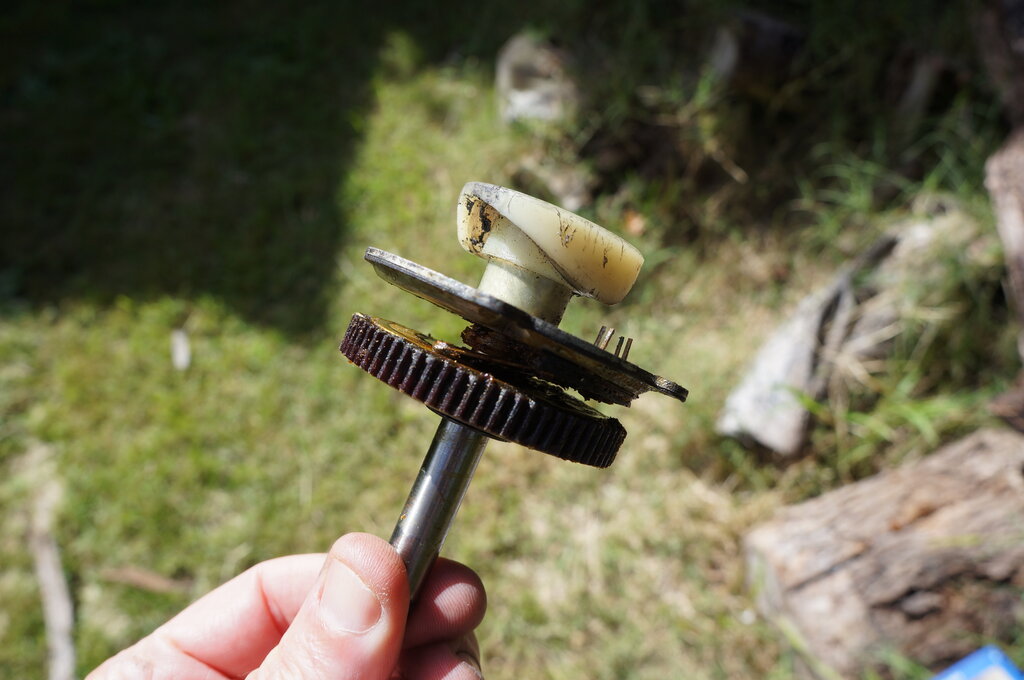
Driven gear is fibre. The parking switch contacts can just be seen.
On top is the cam which drives the washer pump.
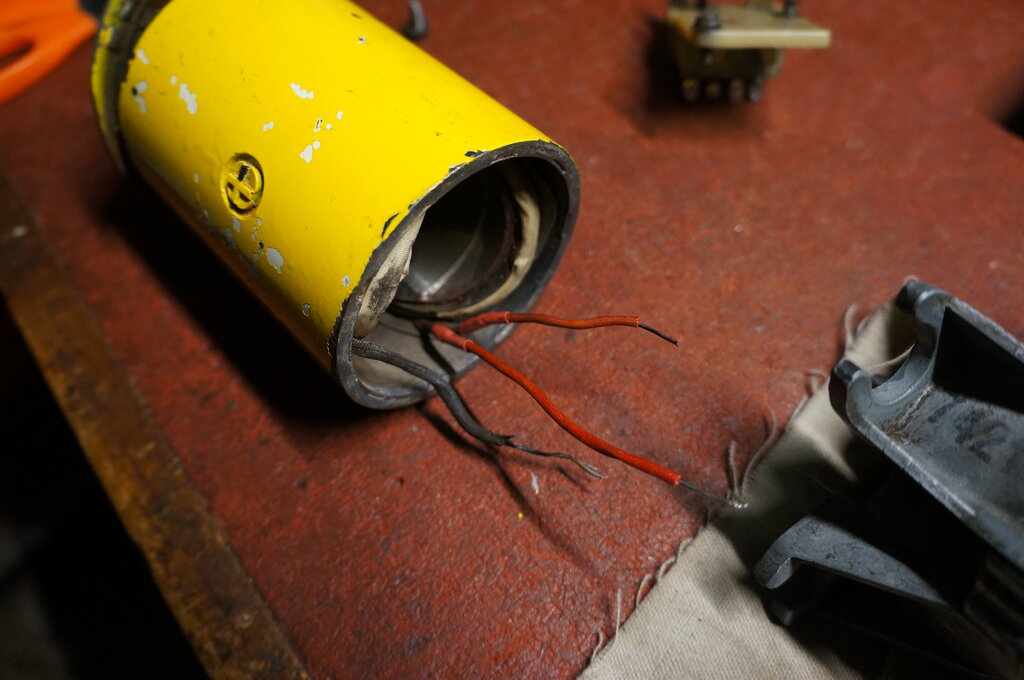
Field coil wires re-insulated.
The set of field coils in the yellow casing looked good, but the cambric tubing had gone brittle and cracked. This was replaced, and an attempt made to reassemble the motor. Of the two armatures supplied, one looked particularly good with a smooth clean commutator, so this was installed. Instead of the usual ball bearings to support the shaft there are so called 'thrust cones'. Alas, the armature just wouldn't go all the way into the gear box. I thought maybe the pot metal casting had distorted preventing proper alignment.

Very subtle differences in thread length and pitch means the two
are not interchangeable.
Then I discovered a nasty trap! The armatures
looked the same, but upon closer examination, there were slight differences
in the worm drive length and pitches. Trying the other armature, it fitted
perfectly. Unfortunately, this one had a more worn commutator. I cleaned
it up as best as possible with emery paper, and cleaning out the gaps between
the commutator segments. It seems the motors with a pump have a different
worm drive to those that don't.
While the motor now worked, I was not
convinced the field coils were two speed. The difference between speeds
wasn't what I would expect. However, there was a complete two speed motor
supplied with all the parts. This in itself wasn't usable because the pot
metal was disintegrating where the wiper crank attached, and it used some
kind of rubber shaft seal which had disintegrated. Also, the driven gears
are different for the washer and non-washer type motors.
Importantly, the field coils were definitely
two speed. Next step was to transplant that casing over to the gearbox
to be used. Again the wires had to be re-insulated, and because of the
extra wiring length required, had to be extended.

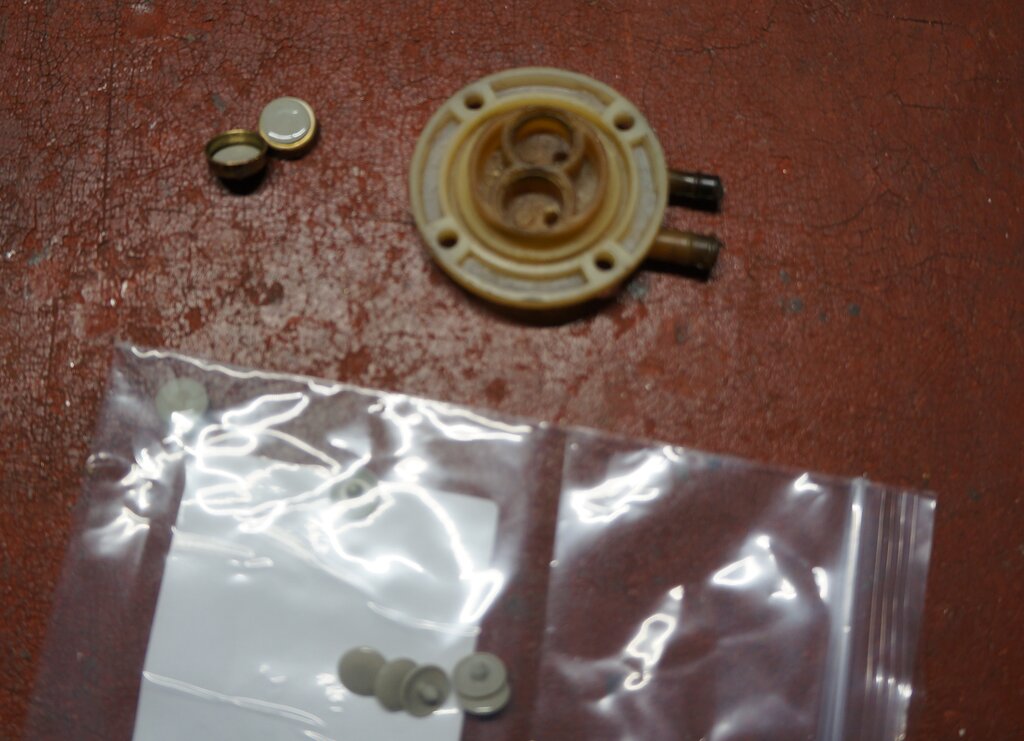
Washer pump assembly at left. Nylon cam attached to motor assembly.
Unfortunately the armature from this motor
couldn't be used because of the different worm drive pitch. With the original
armature installed, the motor functioned, drawing a little over 2A. The
two speeds seemed definite enough.
Next was the pump housing. This has to
be installed before the terminals are connected since the field coil wires
pass through the pump housing body.
Plunger for washer pump. The reciprocating motion is transferred
to the pump diaphragm when the solenoid is energised.
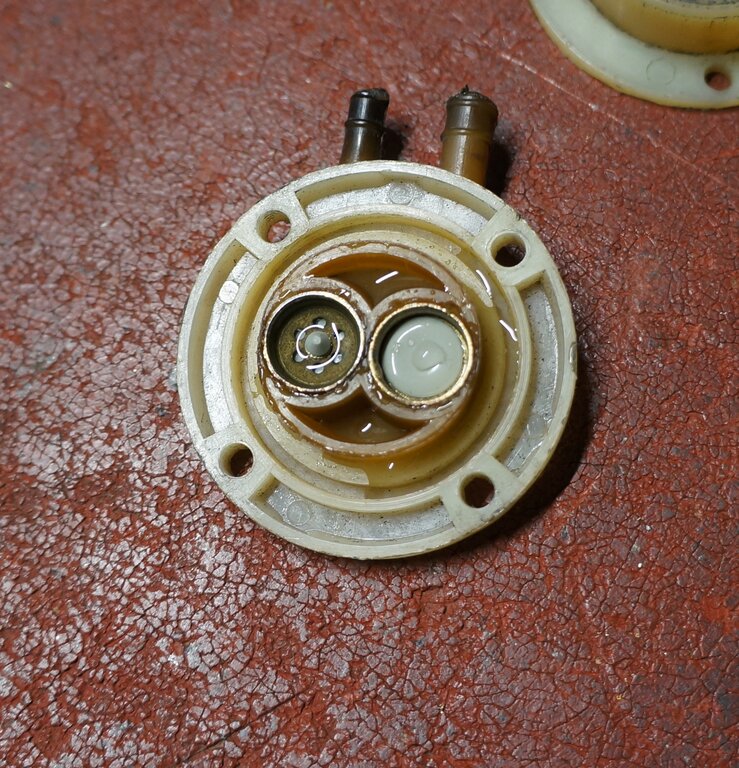
The pump is an unusual arrangement. There
is a nylon cam on the drive gear shaft which causes a plunger to move in
and out of a cylinder in the pump housing. At the other end of the cylinder
is another plunger which attaches to the pump diaphragm.
Around this cylinder is wound a solenoid
coil, which when energised, causes the two plungers to stick together.
The reciprocating motion is thus passed to the pump diaphragm.
Field coil wires re-insulated and extended.
After extending the motor wires, the pump housing was installed on the gearbox casting. It's important to note the wires are very close to the nylon cam.
Timer wheel is actuated by ratchet.
As part of the solenoid circuit is a timer
switch. This another strange arrangement. A toothed wheel is driven by
a ratchet each time the pump diaphragm is actuated. The wheel has contacts
so that in one revolution the solenoid is disconnected.
The result is that when the washer is
actuated by means of the switch inside the car, the washer is pumped until
the ratchet wheel has done one revolution. A set screw adjusts the ratchet
so that the wheel moves more or less during each pulse.
The manual claims that 7 to 8 pumps was
ideal, but this was just impossible. Even with the set screw all the way
out, it was about 18 pulses. Perhaps there was a change in the wheel design
after the manual was printed.
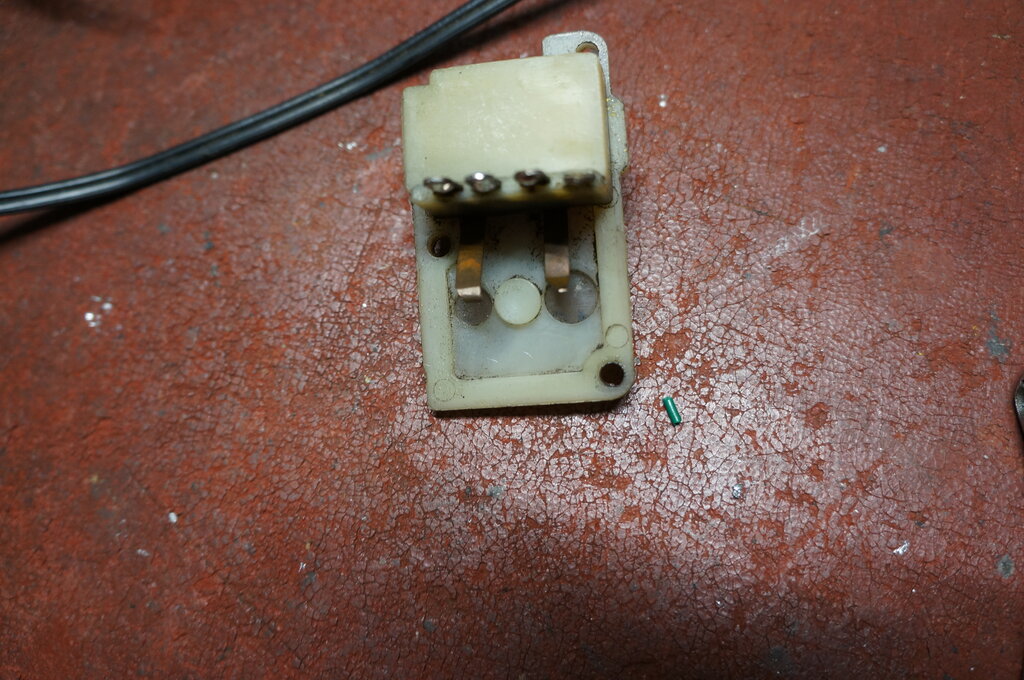
Contacts for timer switch at back of terminals.
Next, was the pump itself. Inserting the water connections into a glass of water brought no joy. I wasn't really surprised, with mental images of brittle rubber parts disintegrating. The pump is easy to dismantle, and the parts come out after removing the four screws on the valve body.
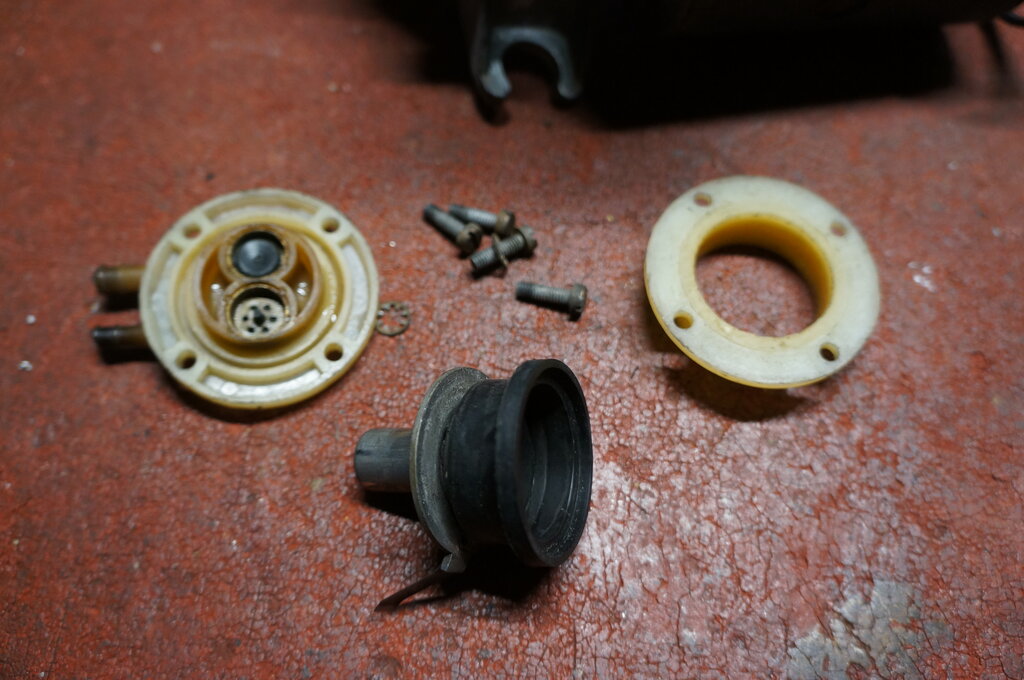
Pump diaphragm and valve assembly.
Sure enough, the pump diaphragm was no longer very pliable. There was also a lot of play between it and the plunger. On top of that, the valves weren't sealing particularly well.
Pump.
A new diaphragm was obtained from Madfolk
Engineering. It's a very well made product.
Unfortunately, new valves are not available.
Some options I came up with were to adapt the valve assembly off a later
Holden; e.g. HQ, or to install check valves in the external tubing instead.
At the suggestion of the owner, I first tried an HQ valve assembly.
It turned out to be close, but not exact.
Fortunately, the pump diaphragms are the same diameter, so as long as the
valve body could fit to the pump body, it should work. The catch here is
the four holes do not line up. The difference is not great, and a few minutes
with a needle file would fix that. The second outlet port would have to
be blocked since the EJ has only one tube running off to the windscreen
washer.
HQ valve assembly is almost a drop in replacement, but not quite.
Note the disassembled EJ valve to the right.
I investigated transplanting the actual
valves across to the EJ body. This was possible, but it became obvious
that the HQ valves face the wrong way and won't seal. The valves used are
of the umbrella type, and the 'umbrella' for the HQ valves faced up instead
of down.
What I needed was 10mm umbrella valves,
and so began the search. If these could be found, the original body could
be used.
After some searching, 10mm umbrella valves
were found on Ali Express; about $22 for a packet of 10. In due course
they arrived, and with a slight drilling out of the centre hole, fitted
quite well. In fact the diameter was just right.
I am pleased to say the pump now worked.
Ali Express valves installed and working.